How to setup your Whatsapp Business ?
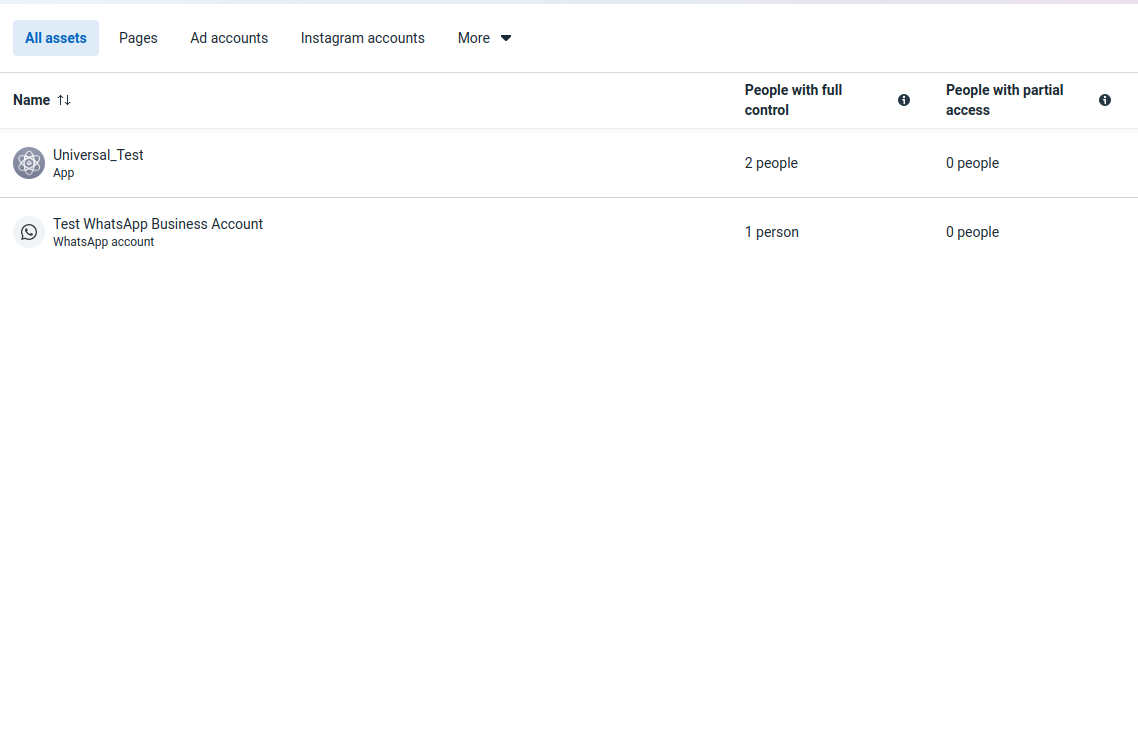
Setting up meta account for whatsapp (Whatsapp Business)
![]()
What are the prerequisites for creating a chatbot on WhatsApp?
To deploy a chatbot on WhatsApp Messenger, all you need is:
- Verified business on Facebook.
- Registered WhatsApp business phone number.
- Official WhatsApp Business API.
Setting up a meta developer account
- Sign up for a Meta Developer Account: First, you need to sign up for a Meta Developer Account by going to https://developers.meta.com/ and clicking the "Login" button.You can use your facebook account associated with your company or you can follow the instructions to create a new account to login.
- After you have created a meta developer account.
Select Create an app >> Business
You need to add an app name, contact email and connect it with your business account.If your facebook account is connected to the business account you would be able to find it in the dropdown menu.
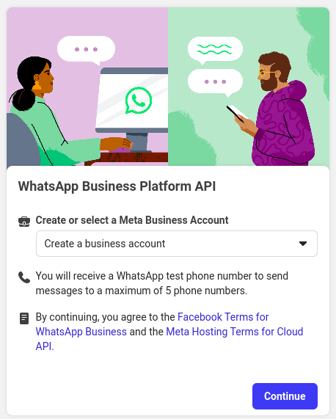
- Add whatsapp to your app , you can create a test number for which Meta will provide you with a temporary token that needs to be refreshed every 24 hours.If you already have a business account,you can add that from the drop down menu and a new test phone number will be created by Meta. To set up a permanent token see Setting up a permanent token.
- To connect Whatsapp api to Blitzico,we need to configure webhook.In Meta developer account,Go to Whatsapp>>Configuration>>Edit Webhook.
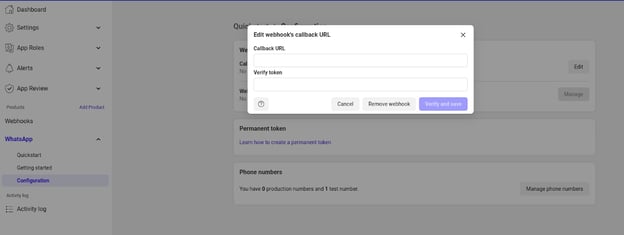
In the callback url , you need to add the Blitzico url(See step 5 to get details on setting up blitzico). Verify token is a token setup by the user.The user can add any text/number here.
- During the setup of WhatsApp webhook for the first time in Blitzico,Meta sends a parameter named "hub.challenge" as part of the request. To confirm that Blitzico has successfully set up the webhook, it should respond with only the value of the "hub.challenge" parameter. Therefore, Blitzico must ensure that its response to the initial GET request only includes the value of "hub.challenge" and nothing else.
To set up Blitzico , Add a Trigger Via Api with Get request , a function node and a response node , Copy the below code to function node
msg.payload = msg.query["hub.challenge"]
return msg;

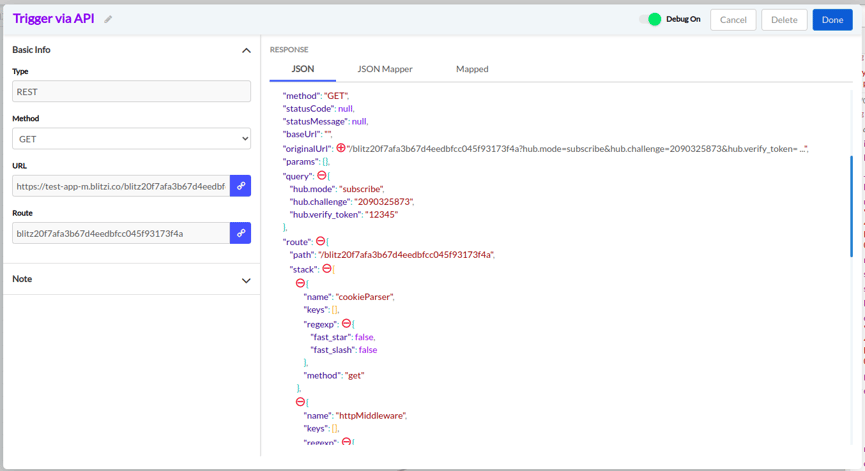
Copy the trigger via api URL and add it to the Callback url on whatsapp , add some text or numbers to verify token(Please save it somewhere) then click on verify and save.
- To get all the events from whatsapp to Blitzico , you need to subscribe to messaging on webhooks.
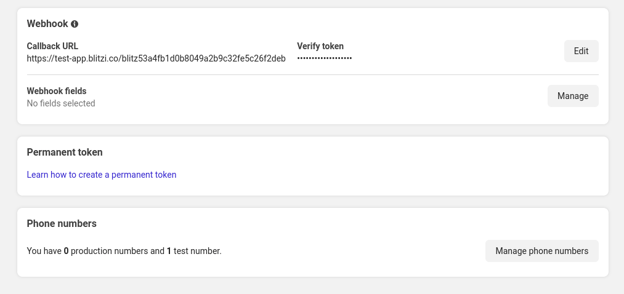
Click on Manage(Webhook fields) and subscribe to messages.
- After you have subscribed and set up the webhook, Change the Blitzico flow to something like this.Since Whatsapp uses webhook we need to send an api response for all the events we receive on Blitzico.

- Go to Whatsapp>>Getting Started.You can add your number here and test if you are receiving a message from whatsapp.
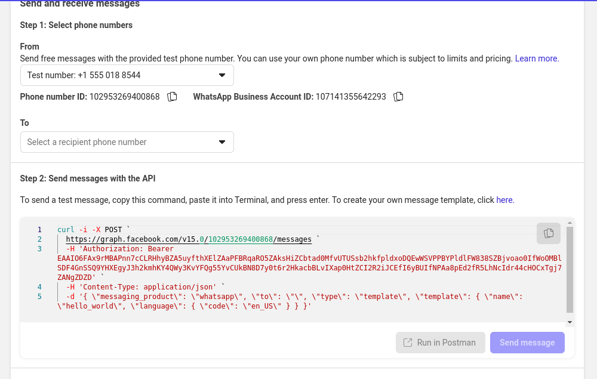
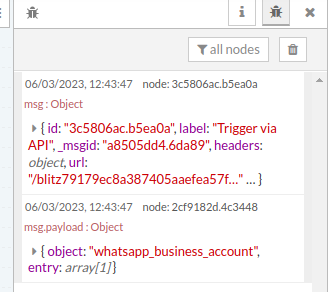
To test if you are receiving the webhook properly, You can send a reply to the Hello Message you got from this.You should be able to see the json in blitzico logs.
Setting up a permanent token.
To set up a permanent token you need a Meta Business Account.You will need to create a system user and connect that user to your Meta developer app.
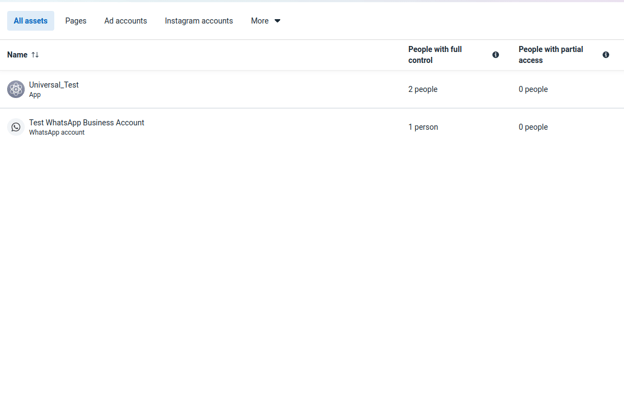
- Login to your Meta Business Account https://business.facebook.com/ >> Settings >> Business Assets.If you have already set up your Meta developer account, you will be able to see your app and Whatsapp Test Account
- Go to Settings >>Business Settings>>System users>>Add. Enter system username and System user role.
- Now you will need to associate that user with the Meta App.For that go to Add Assets >>App. Select your app.You can give partial access and full access to the user.After giving the access click on Save changes.
- Click on generate new token >> Select your app from the drop down menu.
Make sure whatsapp_business_messaging,whatsapp_business_management are turned on.Click on generate token.
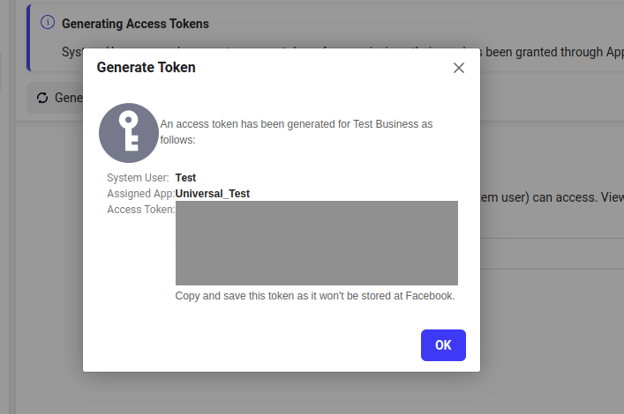
Please save the Access Token somewhere as it is not saved in facebook.This is a permanent token that can be used for this meta developer app.
Migrating current whatsapp business number,
To migrate a number, you must first delete the WhatsApp Messenger or WhatsApp Business App account.
- Open WhatsApp Messenger or WhatsApp Business app on your Android or iPhone
- Navigate to Settings > Account
- Select Delete my account. Messages sent to this phone number will be queued in the meantime
- Follow the steps to delete the WhatsApp account for that phone number. It may take up to 3 minutes for the disconnected number to become available
Navigate to the Meta App that is set-up for WhatsApp by going to developers.facebook.com > My Apps > Select your App.
- Use the left menu to navigate to the WhatsApp > Getting Started (or Setup) panel.
- On the right pane select Add phone number button under Step 5: Add a phone number.
- Use the display name guidelines to enter a display name for your phone number. This is the name that will show for your business phone number once approved.
- Select your Timezone. This will be used for WhatsApp Billing and analytics.
- Select a Category for your business and enter a Business description.
- Select Next to begin the phone number verification process.
- Select your country code from the drop down and enter the phone number you would like to register.
- Select how you would like to receive your verification code, either by Text Message or Phone and click Next to continue. You will need access to the phone number before selecting Next to receive the verification code.
- Enter the verification code once received and click Next to continue.
- The phone number will appear in the From drop down menu of the Send and receive messages section of the panel.
- Select the newly added phone number to begin sending messages.
View this for more information
Migrate an Existing WhatsApp Number to a Business Account - Cloud API
Add a Phone Number - Cloud API
For more information,
WhatsApp Business Platform - Documentation - Meta for Developers
Using Authorization Tokens for the WhatsApp Business Platform

